


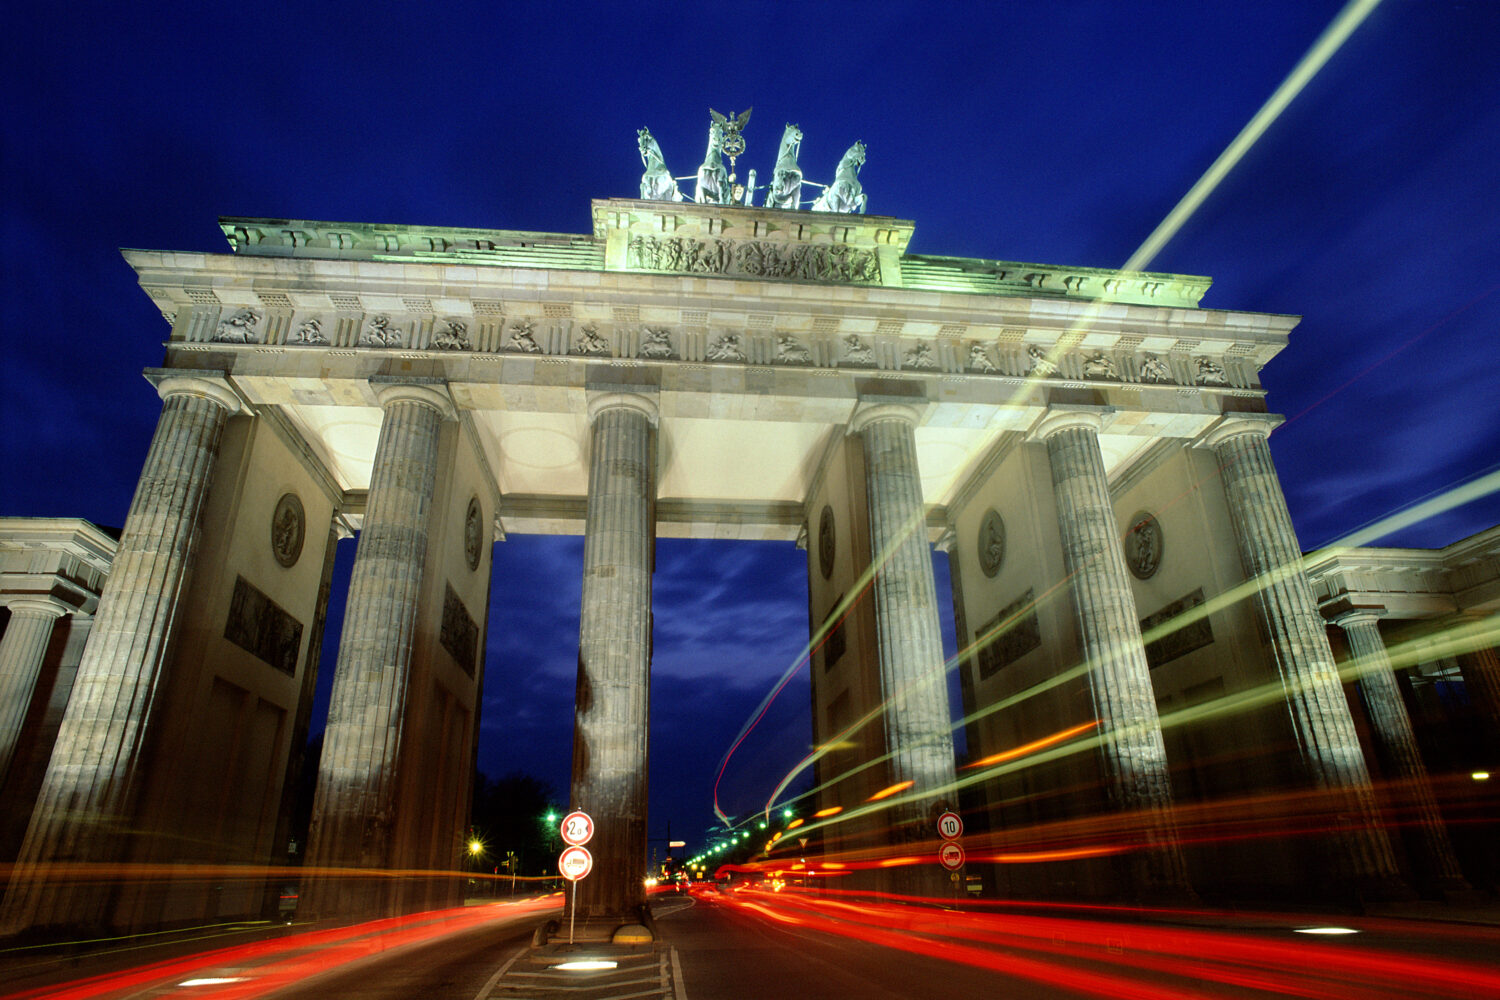
Take Your Camera Off Auto Mode! on Saturday Aug 20th
Wyndham Philadelphia Historic District
400 Arch Street, Philadelphia, Pennsylvania 19106
Saturday August 20, 2022
10AM – 1PM
This workshop is suitable for beginners and anyone that uses auto modes at all. You will learn the variables of exposure and how to put them together to create YOUR desired image.
Does getting that great photo involve a little luck?
During a long drive back home yesterday after taking some photos at a baseball game, the question popped into my head. Is photography part luck? If so how much of it is luck and how much is skill? Now, I talk a lot during my workshops and sometimes random topics pop up depending on the questions asked, but I don’t think the topic of luck has ever come up which is a shame because it has to be considered.
Yesterday morning I drove to Hagerstown, MD to see the Washington Nationals’ newest #1 draft pick, Bryce Harper, in action playing for the Single-A Hagerstown Suns. If you’re reading this sometime in the future, hopefully you’re saying “Wow, they had that guy in the minor leagues?” I wasn’t there for very long as they were completing a suspended game from the previous day and then it started raining so they never actually played the game that I had a ticket for. Although I wasn’t there long, I managed to get some cool shots including a pretty violent collision at home plate.
When I arrived at the game, I sat on the third base line. Since those are the seats I purchased, I figured I would hang out there and scope out the stadium to pick a better location. I chose the third base line since Harper is left-handed and I wanted to make sure I wasn’t taking photos of his back. This positioning allowed me to get a few shots of his first at bat. By the way, he doubled and then scored when the next hitter doubled. I thought the background of these photos were a little busy so I looked around the stadium and noticed a nice single seat up high behind the plate near the press box that wasn’t accessible to the public. If I knew this was going to turn into a blog post I would have taken a picture of it from below!
I asked nicely and was allowed access; I think the big camera and lens help when it comes to getting access. Now, I literally had a bird’s eye view of the park. I had my 200-400mm lens so I could reach any infield player, but I didn’t use it much as I also had my 70-200mm and 85mm f1.8. I was playing around with angles seeing what I wanted the next time Harper came up and then it happened. Man on second and a hit to left field. I’ve been watching baseball my whole life so I knew what was about to happen… A play at the plate! I had the 85mm on my Nikon D3s and just laid on the shutter button even before the player was in the frame. I wasn’t even watching the play since I knew I would be playing it back on my LCD. This is where the D3s earns its money. I didn’t have to worry about missing a shot or my buffer; I just held down the shutter button until the smoke cleared and the Suns runner was… SAFE!
No matter how long you take pictures, it’s still fun; still a rush and moments like this keep you coming back. So how much of this was luck, skill, equipment? It’s all of the above. First, I shouldn’t say luck. Let’s say, right place at the right time. I happened to ask and be allowed access near the press box not long before the play happened. But, that’s one component and part of it was having the right equipment. I also brought a Canon 60D with me that has a much slower frame rate than the Nikon D3s so if that was the camera in my hand at the time, it probably would have been an 8 picture series with bigger gaps. And even if you have the D3s, you can miss your focus, have your shutter speed too slow, not have the camera set at the fastest frame rate, or something else that can lose your shot.
So, driving back, I couldn’t help but think that luck plays a part although you have to be ready to get that shot when it’s presented which takes us back to something I talk about all of the time at my workshops… PRACTICE! I would say luck was on my side, but in Bryce Harper’s second (and last) at bat when I was perched up there ready and set to go…. he was intentionally walked and then I got rained on. So much for luck.
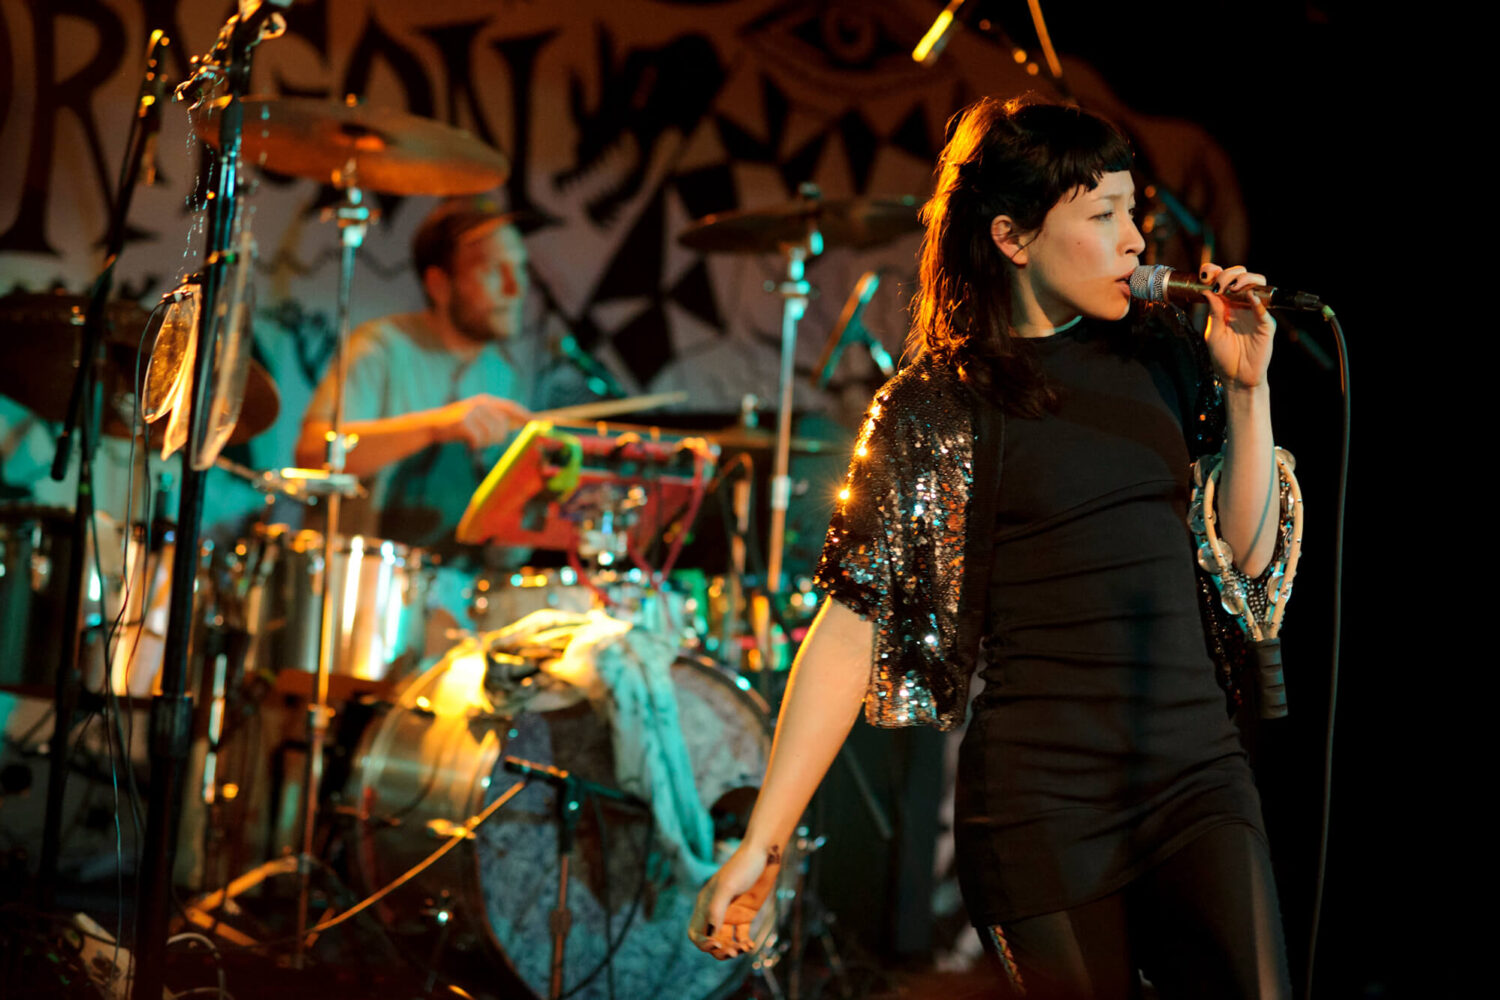
Low Light Concert photography – Go manual or go home.
As I settled in to listen to the group Little Dragon and take some concert photos at The Black Cat in Washington DC, I noticed I wasn’t the only one with a DSLR. There were quite a few. If you’ve ever met me, you know I like to talk so I had a quick conversation with most of the people that I saw with cameras and I didn’t tell them, but I knew it would be rough going. I just handed them a card and told them I teach photography classes if they’re ever interested.
The challenges with concert photography are always light and movement; too little light and too much movement. The best way to solve that is to shoot in manual mode 100% of the time. There’s really no point to even bother with the other modes. Read on to find out exactly why you MUST shoot in manual mode. But first, let’s lay out what makes a good concert shot.
It has to be frozen and you need a great exposure. Pretty easy, right? OK so the exposure part entails ISO, shutter speed, and aperture and I know it’s not that easy. Those three settings are all you have to work with since flash isn’t typically allowed in concert venues. Even if I was allowed, I wouldn’t use flash anyway. That would be too easy and it would wash away the ambience. So here’s where your settings need to be to get a great exposure:
ISO – No mystery here… It needs to be high, so just go ahead and set it at a high ISO.
How high? How nice is your camera and how much noise can you tolerate?
Aperture – Again, no mystery here… go wide. But it depends on your taste, ability to focus, and the lens you have. If you tell me you only have an 18-55mm f3.5-5.6 lens, I’ll tell you to sit back and enjoy the music. If you tell me you have a 50mm f1.8 lens, I’d say let’s take some shots!
So let’s say you dial in what you want for ISO/aperture/shutter speed and take a shot. Yikes! It’s probably a bit dark, but it might be perfect. If so, keep on snapping! Now, the only things that can be wrong with your photo are that it can be too bright or too dark since you’ve controlled all of the other settings. You can’t complain about ISO, aperture, or your shutter speed because you’ve picked those and you knew what you were getting into.
If it’s too bright that’s great! That means we can reel in our exposure a bit and improve on our image. What do you want? Less noise, faster shutter speed, or a smaller aperture?
If it’s dark (and it probably is) then you have decision to make. You need to concede on one or some of your settings. Which is going to hurt your photo the least? Wider aperture, slower shutter speed, or more noise? You make that choice. If you max out everything and you still have dark images then you need to upgrade your camera or get a lens with a wider aperture.
It’s not all bad news. That dark photo can be saved if you are shooting RAW files. If the gap isn’t too wide between the exposure deficit and the extra exposure saved with a RAW file you can turn it up with a program like Adobe Lightroom or Apple Aperture.
You don’t want to do it in post processing? Then that photo isn’t going to happen. Why not shoot in shutter priority? Your camera already told you that you don’t have enough camera/lens to get the shot and changing modes doesn’t change physics.
My mentality when it comes to low light photography is get the shutter speed right and don’t underexpose too much. You can bridge that gap in post processing. If you want that photo to look perfectly exposed in camera then it’s going to cost you a little ISO/aperture or shutter speed and that might just cost you that great image you saw in your head.
RAW vs. JPEG: Not Really a Fair Fight
You probably don’t need to read this article because you already shoot in RAW mode on your DSLR. And I’m sure you’re thinking, “Are there really people that still shoot only JPEGs?” Crazy, isn’t it? You’re not still reading this, are you? Oh no, don’t tell me you’re not shooting RAW files. Have a seat and let’s talk.
A RAW File (NEF files on Nikon and CR2 files on Canon) is a big scary mass of information (BSMI) (strictly my own nomenclature so don’t Google it), which if not understood can sit on your computer for long periods of time without ever turning into easy-to-work-with images. I certainly understand why some people might be scared off by them. But these BSMI are the best feature your DSLR has for proper exposure, if you just give them a chance!
So what is a RAW file? Simply put, a RAW file is the unprocessed data captured by your sensor when you take a picture. This data can all be saved in a RAW file (which leads to a BSMI), or you can forego saving all of that data by compressing the information into a JPEG which is about 1/4th the size of the RAW file. This means that you are throwing away 3/4th of your image data. Sounds like a lot doesn’t it? (It is!) The benefits of RAW files are in your ability to manipulate the exposure and appearance of the image and not in having a file that you can print bigger. In other words, a RAW file and JPEG will look the same—until you try to manipulate them. That’s when the JPEG will reveal itself as inferior.
Benefits of saving RAW files in camera:
- You can save a greater range of exposure. Did you underexpose a few shots when you were in Australia? With RAW you can just turn your exposure up in an instant. With a JPEG, it’s time to book another flight back or live with an underexposed image. Sure, you can do a little tweaking with a JPEG (and I emphasize “a little”).
- RAW files allow you to preserve color correction information that would normally be discarded by JPEG compression, so you don’t need to worry about white balance before each photo.
- RAW files have a greater tonal range. Not to simplify it too much, but would you rather color in a drawing with a box of 8 crayons or a box of 512 crayons?
- When you make changes to your RAW file, you’re only changing the settings applied to that file and when you export a JPEG from your RAW file, those settings are applied. This means you will still have your original file down the line and not a changed or degraded version.
- You can export as many JPEGs as you want from your RAW file. Did an editor call and ask you if you have one that was exposed lighter? Turn up the exposure on the RAW file and export another JPEG.
- Want to create an HDR (High Dynamic Range) image but only have one photo to work with? Export three different versions from your RAW image: one light, one mid and one dark image. Sandwich the layers in Photoshop and make an HDR from one RAW image!
Benefits of saving JPEG files in camera:
- JPEGs are smaller.
- You can fit more JPEGs on a memory card.
- You can take more rapid fire consecutive images
- They take up less space on your computer.
- They’re easier to upload and email to people.
Did I mention they’re smaller? I think you get my drift. JPEGs are bad. And yes, I used to shoot JPEGs, so I am speaking from experience, but when I shot JPEGs, my Nikon D100, which was released in 2003, had a buffer of 2 RAW files. That means that I was only able to take two rapid fire exposures before the camera needed time to process them, which meant a delay until the buffer had room to take another photo. It takes an eternity for the buffer to empty—longer in some cases. Once I upgraded to a D200 I explored RAW files a bit more and was hooked. Now I own a D700 and have a buffer of 17 RAW files and rarely hit that ceiling. I will admit that shooting RAW has made me a lazier photographer exposure wise, since there was a time when I labored over metering multiple zones of a scene to ensure a perfect 4×5 transparency. (So, I believe I’ve earned a little laziness.)
With all of the benefits, what’s holding you back from shooting RAW files? “Memory is too expensive.” Not anymore. You can buy an 8 gigabyte card for $40 or less. “RAW files are too hard to print or email.” I’ll give you that one. You can’t send a RAW file to most labs to print or email them out to your friends, so they can be much harder to handle, but with the popularity of DSLRs, even free programs like Picasa are able to import RAW files, and they export easy-to-work-with JPEGs that you can send to a lab, email, or post to Facebook. But there’s one difference… they’ll be properly exposed. And, isn’t being able to rescue those five perfect images you took on your once-in-a-lifetime trip worth a $40 memory card and a little extra work?
